6 Great Photography Tips blog posts from right here at photographersfreedom.com. From explanations of Aperture and Exposure, to How To Make Your Photos Look Good On Facebook. Some great photography tips for beginners and some that may help the more advanced photographer too. Let’s get started with this list of 6 great photography tips blog posts.
To read the full articles, follow the links in the list below. Otherwise, read on for highlights from each blog post.
6 Great Photography Tips Blog Posts
- What Is Aperture In A Camera?
- 5 Landscape Photography Tips
- How To Take Sharp Photos
- How To Use A DSLR Camera – The Basics Of Exposure
- Back Button Focus
- How To Make Photos Look Good On Facebook
1. What Is Aperture In A Camera?
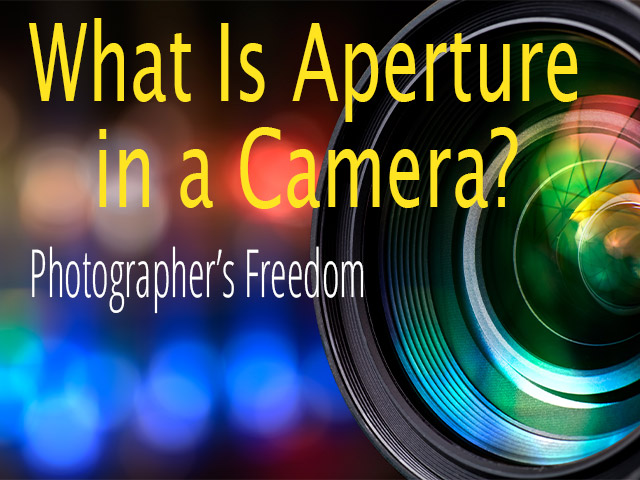
Aperture can be one of the most confusing things about using a DSLR camera. It is also one of the controls within the camera that can give you some amazing results with your photos. So what is aperture in a camera?
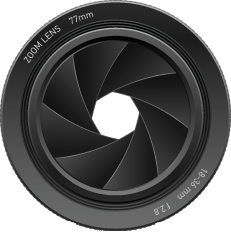
Quite simply, Aperture is the adjustable hole in a lens that lets the light through to your camera’s sensor. If the hole is small, less light will get in. If the hole is large, more light will get in. However, this has more than just the effect of making your photo brighter or darker.
Aperture also affects what is called Depth Of Field (DOF), which determines how much of your image will be in focus.
How Is Aperture Measured?
Aperture is measured in what is called f stops. The confusing thing about this is that a small f stop number such as f1.8 means a larger aperture opening, and a large f stop number like f22 means the opening will be smaller.
2. 5 Landscape Photography Tips
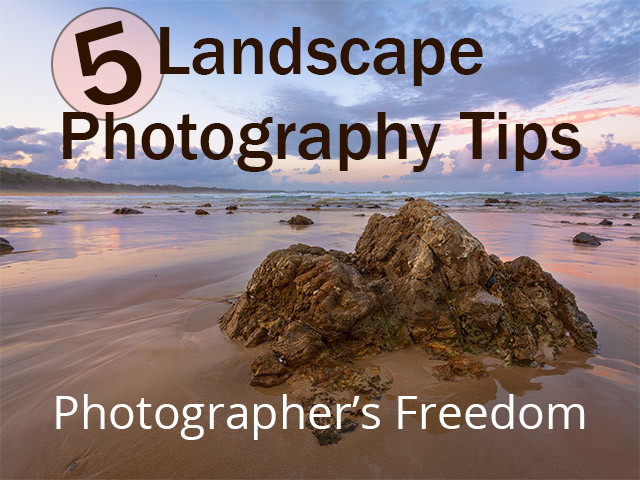
- Always use a tripod.
- Use a remote trigger or the self-timer on your camera.
- Shoot RAW.
- Put something in the foreground.
- Expose for the highlights.
The 5 tips I mentioned above are just the tip of the iceberg but they are a great start. Look out for more blogs in this series coming soon. In the meantime, take a look at my Photography Tips For Beginners post for more photography tips.
3. How To Take Sharp Photos
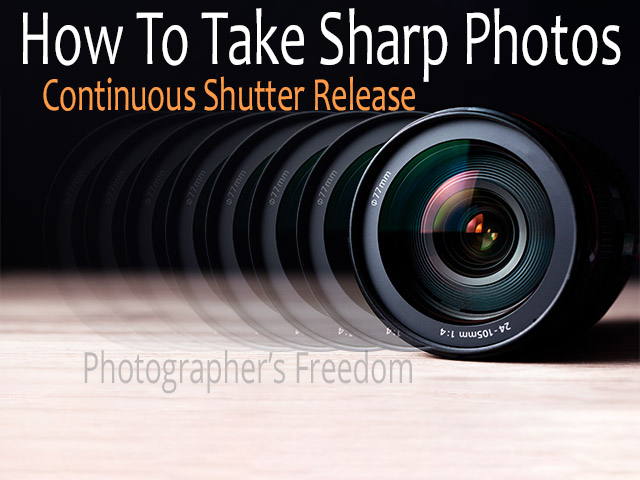
Continuous Shutter Release
The second blog in my How To Take Sharp Photos series, this one talks about continuous shutter release. Taking multiple shots by only pressing the shutter once can help you get sharper photos. How? Read on……
You are creating camera shake every time you press the shutter button. The pressure of your finger on the button, as light as it may be, causes movement in the camera and therefore, the lens.
By setting your camera to continuous shutter release with a high release rate (it will take more photos in less time), you may eliminate that camera shake from one or more of those pictures.
It’s basically the law of averages – more photos means more chances to get one that is tack sharp.
For more ways to take sharp photos watch my How To Take Sharp Photos series on YouTube.
4. How To Use A DSLR Camera – The Basics Of Exposure
How Digital Cameras Work
All digital cameras work using the same three primary things:
- Shutter Speed
- Aperture
- ISO
These three things work together to decide the exposure of your image. This simply means how bright or dark the photo will be.
Shutter Speed
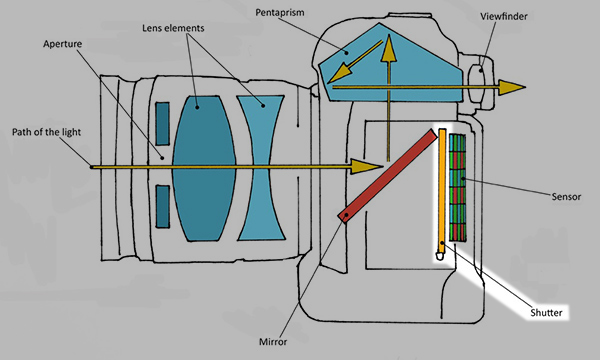
Inside of every camera there is a shutter. It acts like a curtain that opens and closes, exposing the sensor to light.
The shutter speed that you choose determines the amount of time the shutter is open for.
Shutter speed is measured in seconds and fractions of a second.
5. Back Button Focus
What is Back Button Focus?
Back button focusing assigns your cameras Auto Focus to a button on the back of your camera. This separates the focusing from the shutter release which can be helpful for a couple of reasons.
1. You don’t have to switch focus modes
With Back Button Focus on, you can start in AF-C mode and leave it there all the time.
You simply press the button once to focus on your subject and take your shots.
If your subject moves, you press and hold the button to enable the camera to continuously focus on it. If you keep the focus point on the subject, you should then capture amazing photos.
2. You can easily focus and re-compose
This is where you might be taking a photo of the same subject but you want to have it in the right of frame to include more of it’s surroundings. You press the shutter button halfway to focus, move the camera and then your finger slips and you’ve lost focus.
With back button focus, you simply press the button once, recompose the shot and then click the shutter button. Once you’ve pressed that back button, the camera will lock that focus and you don’t have to worry.
6. How To Make Photos Look Good On Facebook
They Look Good When Their NOT on Facebook!
As photographers, we spend so much time and effort getting our photos to look as good as they can in our camera. We spend even more time in Lightroom or Photoshop trying to make them look even better.
Then once we have them looking their best, we go and upload them to Facebook. However, when we click on the image in the Facebook post to see what it looks like…………..it’s terrible?!?! Where did all the detail go?!
How To Make Photos Look Good On Facebook
The solution is easy.
If you have edited your image in Lightroom, simply export it the way you normally would. Don’t worry about resizing it on export, we can do that in Photoshop.
Within Photoshop, what you want to do is resize your image to 2048px on the longest edge. Watch the video below to learn how to do that.
That’s 6 Great Photography Tips Blog Posts!
Thanks for checking out this best-of blog post today. Make sure you read the full posts too.
Share this post on social media and leave a comment before you go. Until next time, get out there, take some wicked shots and I’ll see you soon.
