In Part 1 of How To Use a DSLR Camera I talked a little about Shutter Speed, Aperture and ISO. These three things form the Exposure Triangle. However, I like to call it the exposure “carpool.”
Imagine you are carpooling with shutter speed, aperture and ISO. The photo is your destination.
Shutter Speed – the Driver of Your DSLR Camera
Shutter Speed is your driver. It decides the motion of the car or in other words, how fast you get to your destination.
If shutter speed is driving fast, you get to your destination quicker. In fact, you get there so quickly that you don’t feel any of the bumps or dips. When you arrive, your head is clear and you have a crisp, sharp view of your photo in front of you.
If shutter speed is driving slow, then it takes longer to get there. You feel every bump along the way. When you finally get there, your head is so shaken about that your destination is a bit fuzzy.
This is another way of saying that shutter speed controls the amount of camera shake or motion blur that your photos will have.
ISO – the Booster Seat In Your DSLR Camera
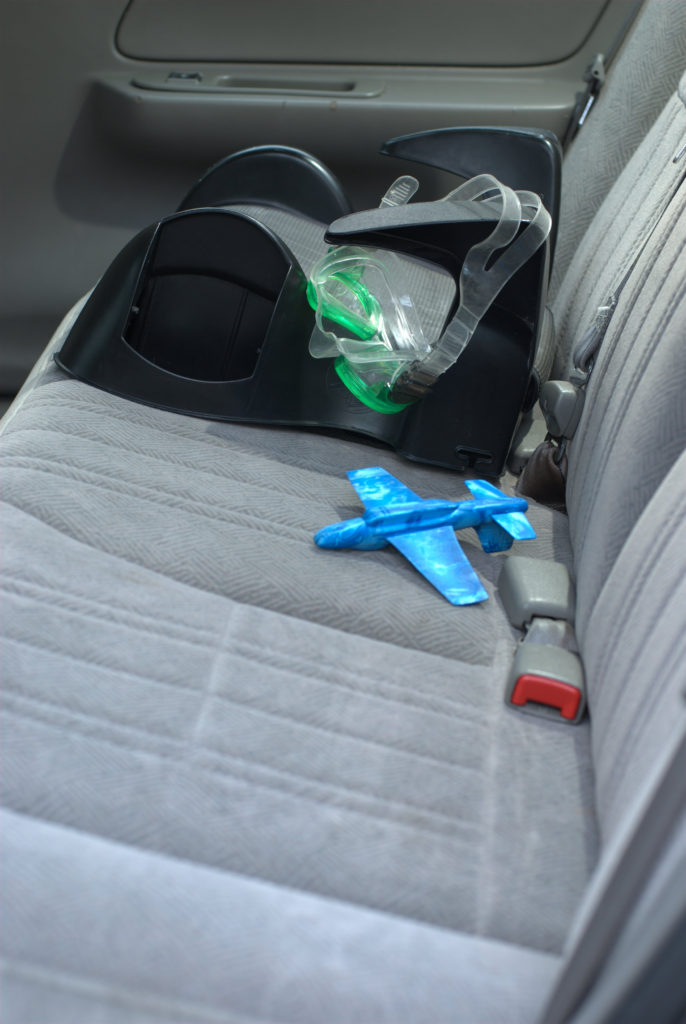
ISO is the booster seat that your shutter speed sits on. How low or high ISO is will affect how fast shutter speed can drive.
If ISO is low, shutter speed can’t really see over the dash and has a darker view of the road. He has to drive slower in order to see where he’s going and get to your destination.
If ISO is high however, shutter speed sees much more of the road and can drive a bit faster.
In other words, a low ISO number means a darker photo and a high ISO means a brighter photo. Low ISO numbers will require a longer shutter speeds and high ISO numbers will allow faster shutter speeds.
What shutter speed and ISO do during the trip however, depends upon how Aperture is behaving.
Aperture – the Restless Child in the Back Seat
“ARE WE THERE YET?”
Aperture will decide how pleasant your trip is. It’s like the misbehaving brat in the back seat.
If Aperture is opened wide up and gets over-excited, it starts pulling the sunshades off the windows and letting more light into the car. This will make ISO want to go lower. Shutter speed however will keep on driving fast because he still has a nice, bright view of the road.
As a result, you will still get your destination fast. When you do get there however, because Aperture let more light into the car, you will have a very different view of your destination. Your photo will look a bit fuzzy in some parts. Only a small amount of it will be in focus. This is called Shallow Depth of Field.
If Aperture gets sulky and closes up, it starts throwing things up under the back window. This lets less light into the car. Because it can’t see very well, shutter speed will want to drive slower. This in-turn will make ISO want to go higher.
As a result of this, your view of the destination will be different yet again. This time, because there is less light in the car you can see more through the windscreen, or more of your photo in focus. This is called a Deep Depth of Field.
The Final Exposure
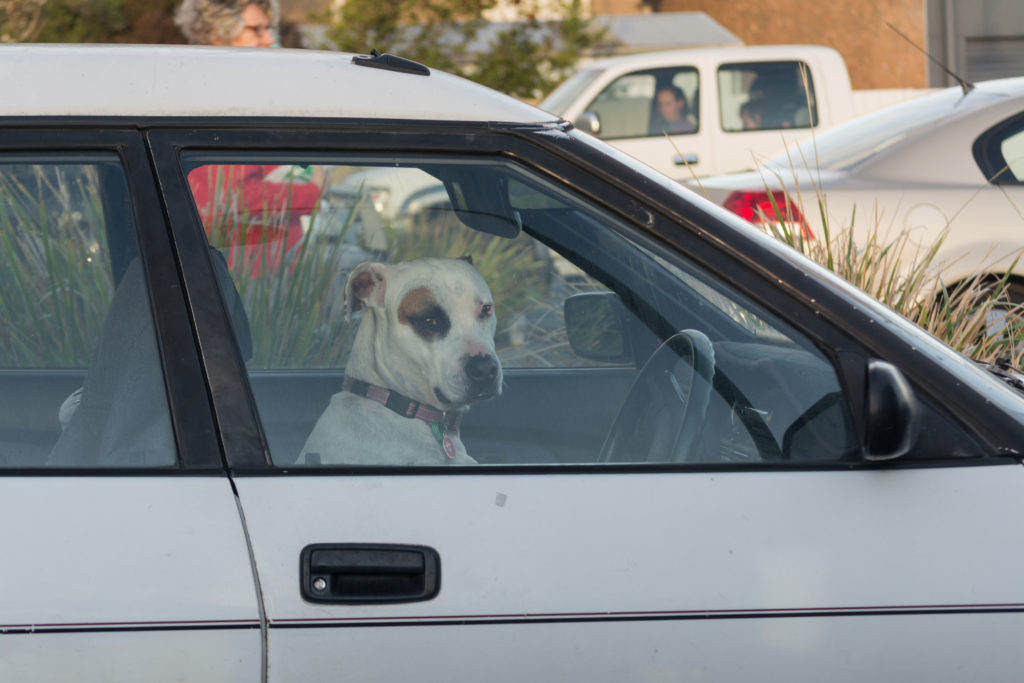
As you can see, the final exposure of your image is dependent on how shutter speed, ISO, and aperture travel together. What one does affects the other and so-on.
In addition, how these three things work together also depends on the amount of light outside the car and the type of destination you are aiming for. In other words, how bright the scene is, what you are photographing, and how you want the photo to look, are all things that affect what settings you use.
Learning to use these three primary things is important when learning how to use your DSLR camera.
In the next post of this series, I will explore ways to use your DSLR camera to get your photos to look the way you want. We we look at different types of subjects and styles of photos and the settings needed to get them right.
Thank You
Thanks for reading my blog today. Looking at things in a different way sometimes helps to really “get” the information and I hope this post has given you another perspective on the exposure triangle that maybe makes more sense to you.
Please share this post using the social sharing buttons below and leave a comment if you like.
