
On the 2nd of June 2020, I was photographing Osprey at Woolgoolga Lake on the Mid-North Coast of New South Wales. I don’t have particularly great gear for photographing Osprey but I love bird photography and I think Osprey are the most beautiful birds. Every experience with Osprey is great but this particular one was really special.
Woolgoolga, New South Wales
Woolgoolga is a small town on the Mid-North Coast of New South Wales in Australia with a population of around 5500 people. It’s a beautiful place with wide, sweeping beaches that are popular year-round with swimmers and surfers.
Just north of the town is Woolgoolga Lake. This tiny stretch of water surrounded by bushland is a haven for many birds. It’s common to find Seagulls, Cormorants, Egrets, Herons, Rainbow Lorikeets and many more. What I am mostly interested in though is the three Osprey that live on the western side of the lake.
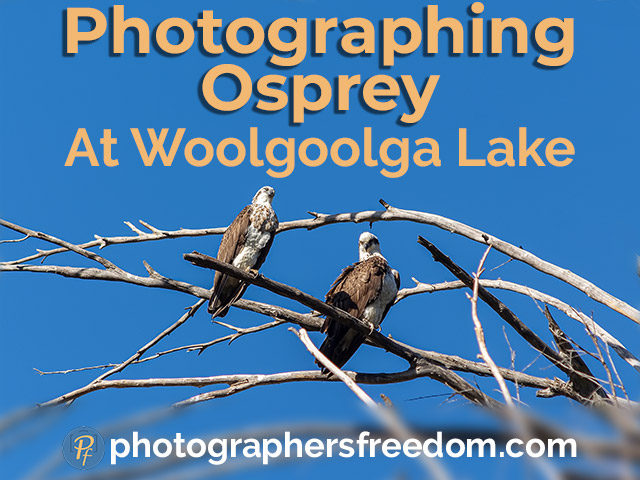
Photographing Osprey At Woolgoolga Lake
The Osprey is a medium-sized fish-eating bird of prey. Adult birds can be anywhere from 50-66cm (20-26 inches), in length and weigh up to 1.4kg (3lbs). They have a wingspan of 149 to 168cm. The female bird is slightly bigger than the male.
I have a Tai Chi class by the Lake once a week, and during that 1 hour class, it’s not uncommon to see the Osprey fishing in the lake. I often get anxious when I see them during class; I want to grab my camera and go photograph them.
On this particular day, I decided to bring my camera gear and film a video for my YouTube channel after Tai Chi was over. You can view the first installment of the video below:
Nature Shows Up
Since I began photography back in 2014, I have been lucky to have quite a lot of awesome nature experiences. Animals seem to just show up in the right place at the right time for me. I had another such experience while filming the video, as you have seen if you watched it.
I was just casually talking on camera when an Osprey flew across the Lake right above me. I got a few good shots of it as it circled above.
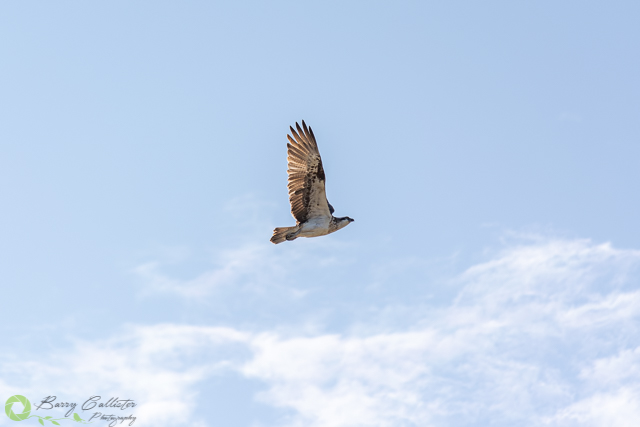
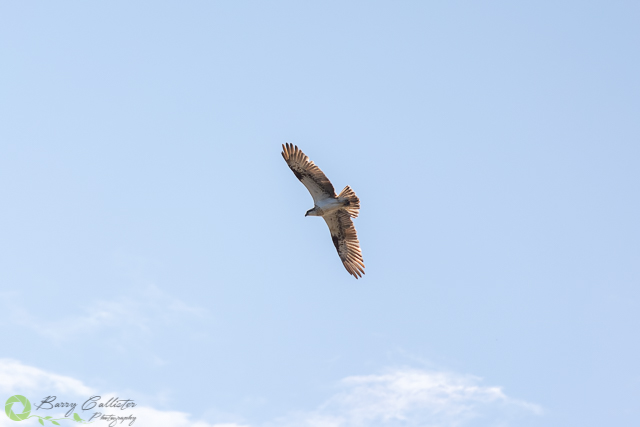
If this never happens for you, just sit and wait. The more you stay quiet and still, the more nature will ignore you and the birds will see you as part of the landscape. It’s a game of patience.
The Osprey Nest
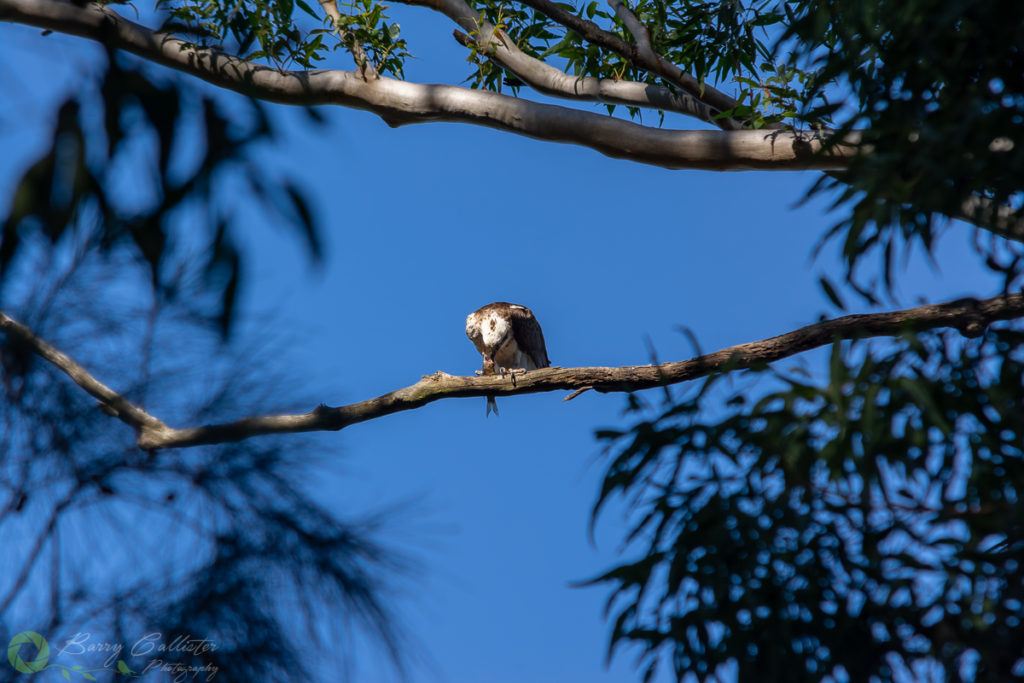
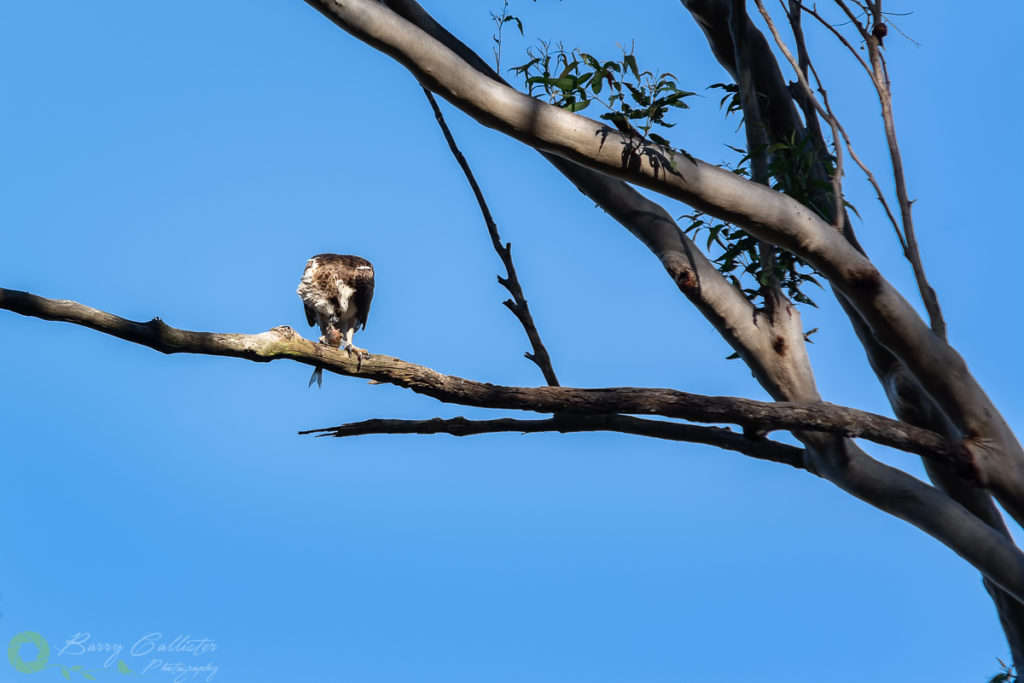
A while ago I had been at the lake and seen osprey fly back to the nest. Osprey will use the same nest over and over again. They will constantly build it up and repair it. It becomes a huge pile of sticks, driftwood, and seaweed, high in a tree, easily seen from the ground.
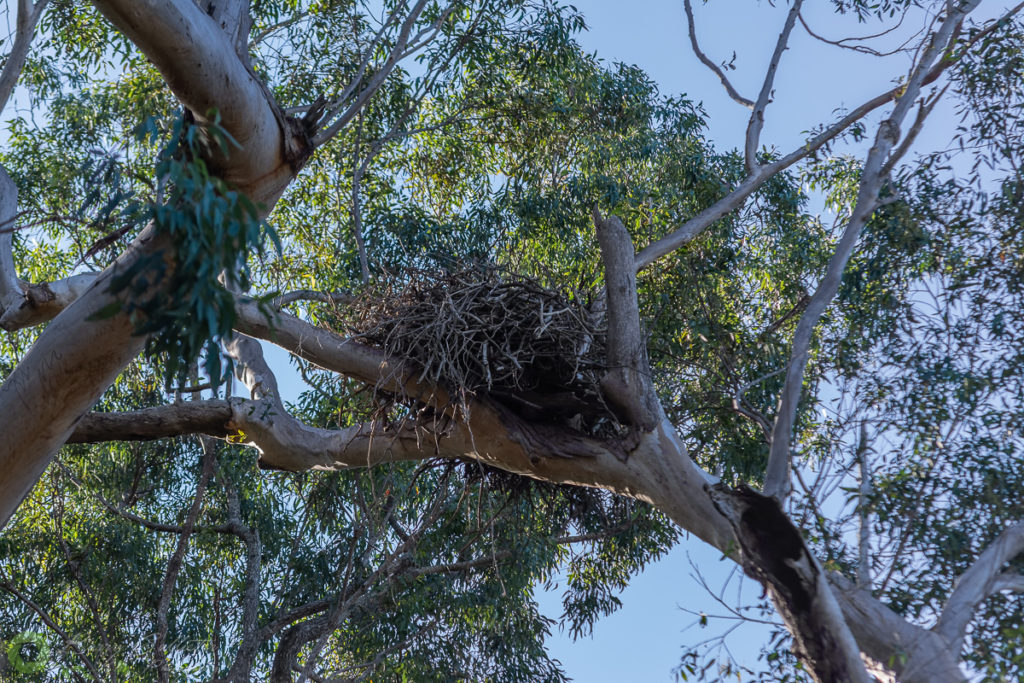
I decided to make my way across to the other side of the Lake to see if I could find it. It turned out to be easier to find than I thought it would be. And, as luck would have it, I was there at just the right time.
I took a few photos of the nest and one of the Osprey which was perched high in a tree nearby. As I was doing this I noticed an Osprey to my left sitting up on a dead branch, eating a fish it had just caught. A third osprey flew in, also holding a fish.

Photographing With Budget Equipment
The photos above were taken with my Nikon D5200 and an AF-S Nikkor 55-200mm f/4-5.6 lens. If you think that bird photography is only for those people who can afford huge, expensive lenses and top, pro cameras – think again! I have taken many great shots with this gear of birds both perched and in-flight.

The 55-200mm is just a kit lens; a cheaper-made lens designed to be affordable for the novice-to-amateur photographer. The glass in these lenses is not as good-a-quality as more expensive lenses. However, with the right skills and a bit of know-how in Lightroom and Photoshop, you can produce really top images with equipment like this.

Naturally, you are not going to get as close to some birds with a 200mm focal length. The Nikon D5200 is a 1.5x crop-sensor DSLR. With crop sensor cameras, the focal length must be multiplied by the crop factor to get the true focal length, because the sensor crops the image down somewhat. This means that the lens actually performs as an 82-300mm. This is a bonus for wildlife and bird photography, as it means you get more reach from your lens!
The 55-200mm lens performs much better at close range, so I have had to learn to stalk wildlife in order to get physically closer. However, this is something that I find exciting and challenging; it adds to the enjoyment of photography for me. I would rather be close to an animal than off in the distance just observing. I like to feel that connection you get by being close to your subject.
Tips For Photographing Osprey
I want to give you a few tips for photographing Osprey. These tips apply to any other birds you may want to photograph as well.
First tip that I will give you is learn the birds behaviour. Do a bit of Googling to find out the habits of the bird, where they hang out, where they eat, where they Nest etc. Once you know a bit of basic information about the bird, just get out there and observe them.
The more you watch, the more you will learn about their habitual behaviours. And the more you know about their behaviour, the better your photos will be.
If you have a really long focal length on your lens, then just find a spot where you are relatively hidden from the bird and just click away. If like me however you have a small focal length lens, then you will have to practice getting close to the animal without scaring it off.
Just make sure you watch the bird as you creep forward and read their body language. Birds will crouch just before they take off (see photo below). And before they do this they will become sort of anxious and more alert; you will notice their posture stiffen up. If you see them become agitated, stop, sit down, or get down low and just be still for a little while. When you see them start to relax again, creep a little bit closer.

A lot of birds will also make a certain type of noise when a predator is about. The more time you spend with certain birds the more you get to know their warning sounds. If you hear them sound a warning – again, stop, be still and wait.
If you are photographing birds with a smaller focal length, I don’t suggest using a tripod. There are two reasons for this. Firstly, it can be large and cumbersome to cart around with you through bushland or rocky terrain. Second-of-all, it’s a much larger visual thing that may scare birds away.

Shoot hand-held and if you have to, rest your camera on something to keep it steadier.
As far as camera settings go, these will differ from situation to situation. Depending on how much light you have available; start with an ISO of 400, an aperture of f/8, and a shutter speed around 1/400sec for perched birds and perhaps 1/1600sec for flying birds. You can always use Shutter Priority Mode; simply choose your shutter speed and let the camera do the rest.
To go into enough depth about camera settings, I would have to write a whole other blog post! There are no perfect settings for any one situation. The perfect settings are the ones you choose that end up getting you a great photo.
Further Reading
For more help with camera settings consider the following blog posts: