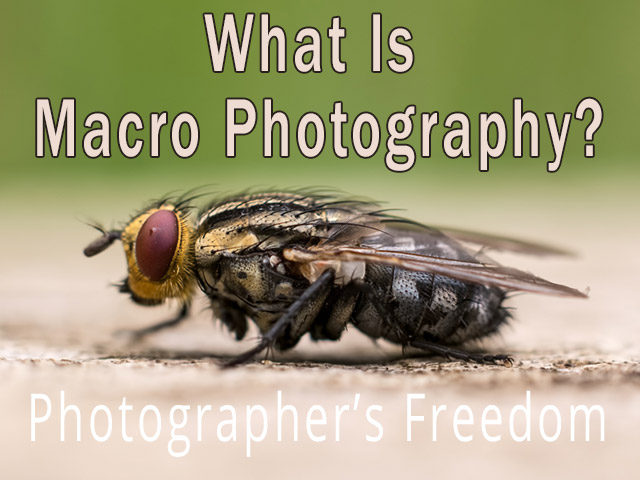
All around us every day is a tiny world that we are mostly unaware of. Minute creatures scurry about. Small plants and grasses grow beneath our feet, and everyday objects contain entire worlds. What is Macro Photography? It is a camera’s view into this world.
What Is Macro Photography?
Wikipedia describes Macro Photography as “extreme close-up photography, usually of very small subjects and living organisms like insects, in which the size of the subject in the photograph is greater than life size.”
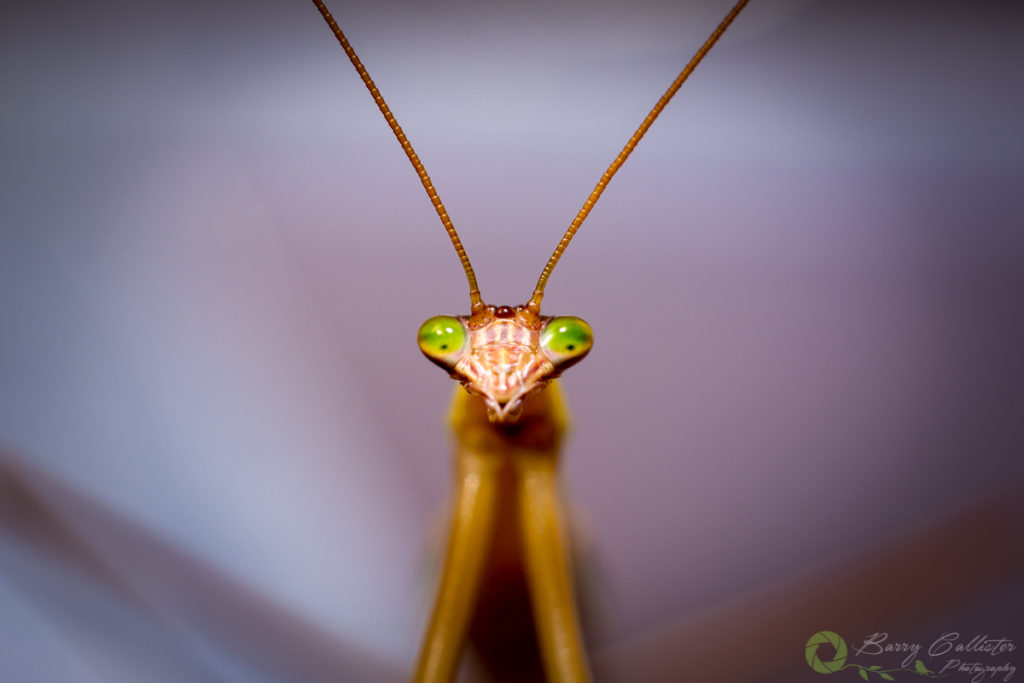
Macro is often called Close-Up photography, however there is a technical difference between the two.
A close-up is a photo that has a reproduction ratio of between 1:10 to just below 1:1 – or life-size. A Macro shot has a ratio of 1:1 to 10:1. Any shot over 10:1 is considered to be micro-photography.
What Is A Reproduction Ratio?
The Reproduction Ratio describes the actual size of the subject in relation to how large it is on the camera’s sensor. For example, if we have a subject that is 40 millimeters wide in real life, and it appears 10 millimeters wide on our camera’s sensor, then it has a ratio of 1:4 or one quarter life-size.
You may see reproduction ratios written as decimals. A 1:2 ratio for example would be 0.5x.
Can Macro Photography Be Done With Any Camera/Lens?
You may think that you have to rush out and buy all this extra equipment to do macro photography. In fact, you can get started with the camera and lenses that you already have. This is a photography tutorial for beginners after-all, we can’t have you rushing out to buy thousands of dollars worth of gear?!
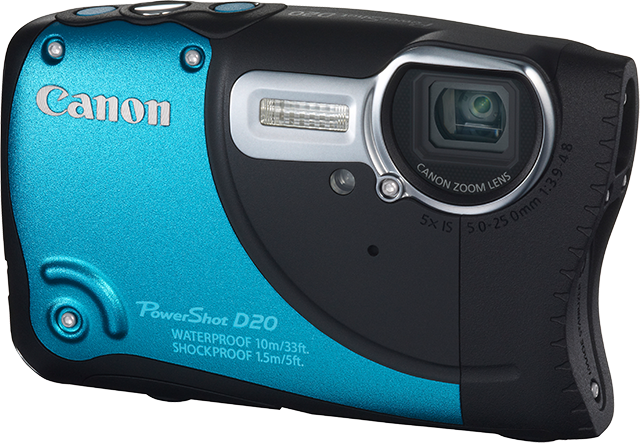
Having a DSLR is an advantage, however you can try out Macro with your trusty point-n-shoot. A lot of compact cameras have a macro setting.
My Canon Powershot D20 has a great macro setting and can focus very close. It’s great to play around with but of course the images you get are not really great quality.
If you have a DSLR you will get much better results. In addition, with a few extra accessories, you can use the lenses you already have.
Macro Photography Basics With A DSLR
There are lenses that are designed specifically for macro photography. The only setback is they are expensive, and if you are just trying out macro to see if you like it, you may not want to spend big bucks up-front.
A lot of people start out with kit lenses when they buy a DSLR. The most common is an 18-55mm. These are a great lens to learn on but they are not built for macro photography.
The AF-S Nikkor 18-55mm lens that came with my Nikon D5200 has a reproduction ratio of 0.38x. This is nothing close to a macro reproduction of 1:1.
You can purchase a variety of relatively cheap accessories that will turn your 18-55mm into a macro lens however. Let’s look at some options.
DSLR Macro Accessories
Reversing Rings
Reversing Rings, or Reverse Mounting Rings are the cheapest macro photography option. These are a metal ring (just like a filter but without the glass), that allows you to mount your lenses in reverse. Doing this increases the magnification of the lens and allows you to get closer to your subject.
If you attach a reversing ring to your 18-55mm lens, you also have the option of zooming. This will give you a variety of different focusing distances.
You lose the ability to Auto-Focus using reversing rings, but manual focus is recommended with macro photography anyway. You also can’t change the aperture on your lens. However, there is a way to get around this.
Andres Moline from Fstoppers has a great YouTube video about this.
You can get started with reversing rings from around $7.95 USD on Amazon. Try them for yourself for Canon, or Nikon.
If you’re a Canon user, you can spend a few extra bucks and get yourself an Meike Reverse Adaptor Ring. This has electronic contacts that allow you to auto-focus.
Extension Tubes

These are a plastic tube that fits between your camera and the lens. This allows your lens to focus at a closer distance to the subject.
There are two types of Extension Tubes – those with electronic contacts and those without. Naturally, the ones without contacts are much cheaper but of course don’t give you the option to auto-focus.
The tubes come in different widths. The wider the tube is, the closer you will be able to focus on your subject. You can also combine different lengths of extension tube to get super-close.
I use Xit Pro Series Auto Focus Macro Extension Tubes for Nikon from Amazon. For instance, the images above were taken using these tubes. There is also a Canon alternative.
View the cheaper options for Nikon or Canon on Amazon too.
The thing to remember with extension tubes is they will affect the amount of light that comes into your camera. Therefore, to compensate, adjustment of your camera settings will be required.
Try Macro Photography Yourself
I hope you now have a better understanding of what Macro Photography is. You should also be clearer about some of the gear you need to get started.
In conclusion, I hope you enjoy looking into the tiny world around us. The colours, shapes and textures you find will amaze you.
Thank you for reading this blog post. I appreciate you taking the time out of your day. Please share it with others if you enjoyed it. There are social media buttons below.
