
What is the function of clipping mask in Photoshop and why would you want to use one? Well, a clipping mask can help you do some awesome things in Photoshop, so let’s take a look at it.
What Is The Function Of Clipping Mask In Photoshop?
A clipping mask takes one layer and “clips” it to the layer below it. This means that the top layer will only show up where there is information on the layer underneath it.
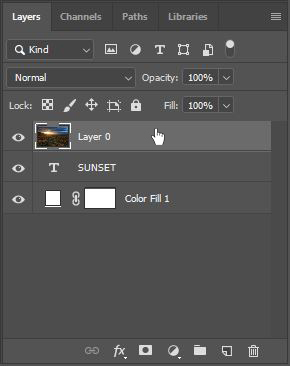
Take a look at this screen shot of Photoshop.
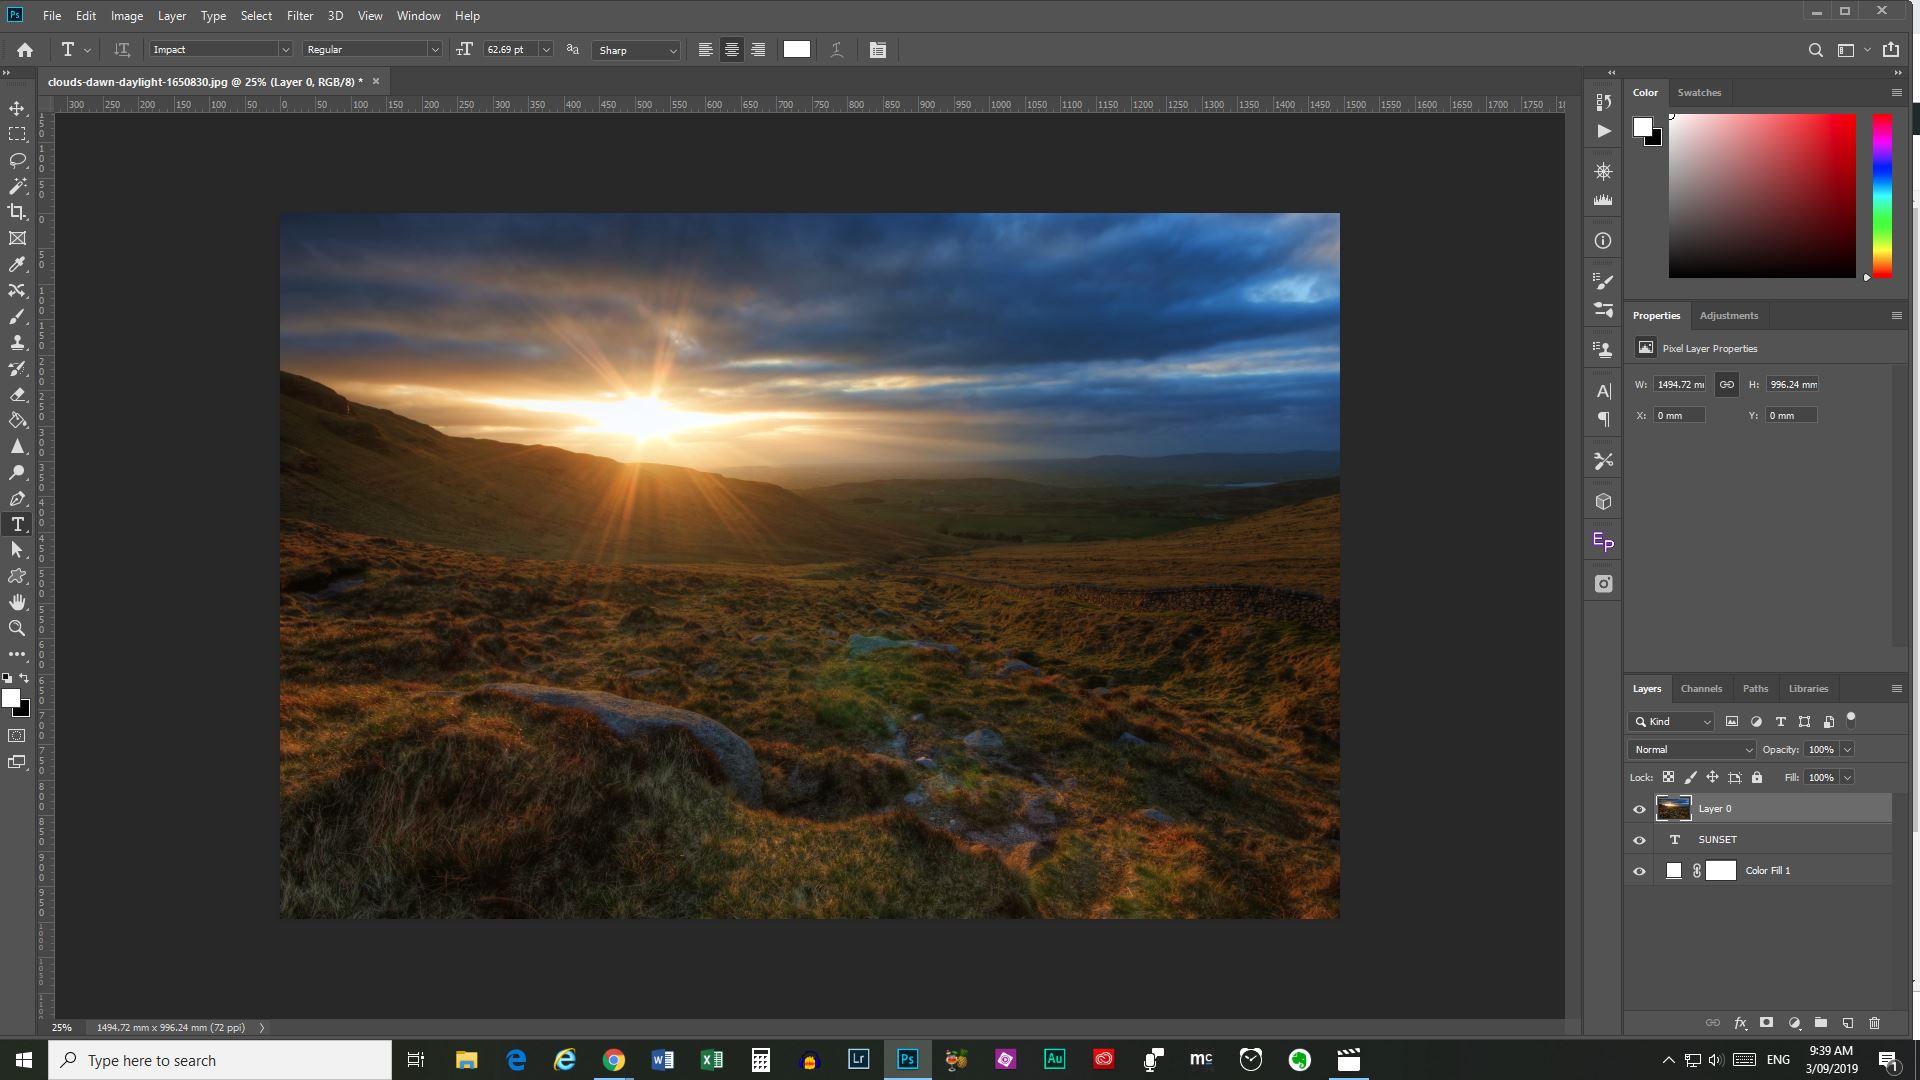
Here I have a Text layer and above it I have a sunset photo. I want the sunset picture to show through the text. *You can’t see the text because it’s below the sunset image layer.
I’d like it to seem as if the text has been cut out of a piece of paper for example, to reveal the sunset behind it. I have put a white Solid Colour layer on the bottom so the text will stand out once I apply the clipping mask.
If I apply the clipping mask, this is the result…
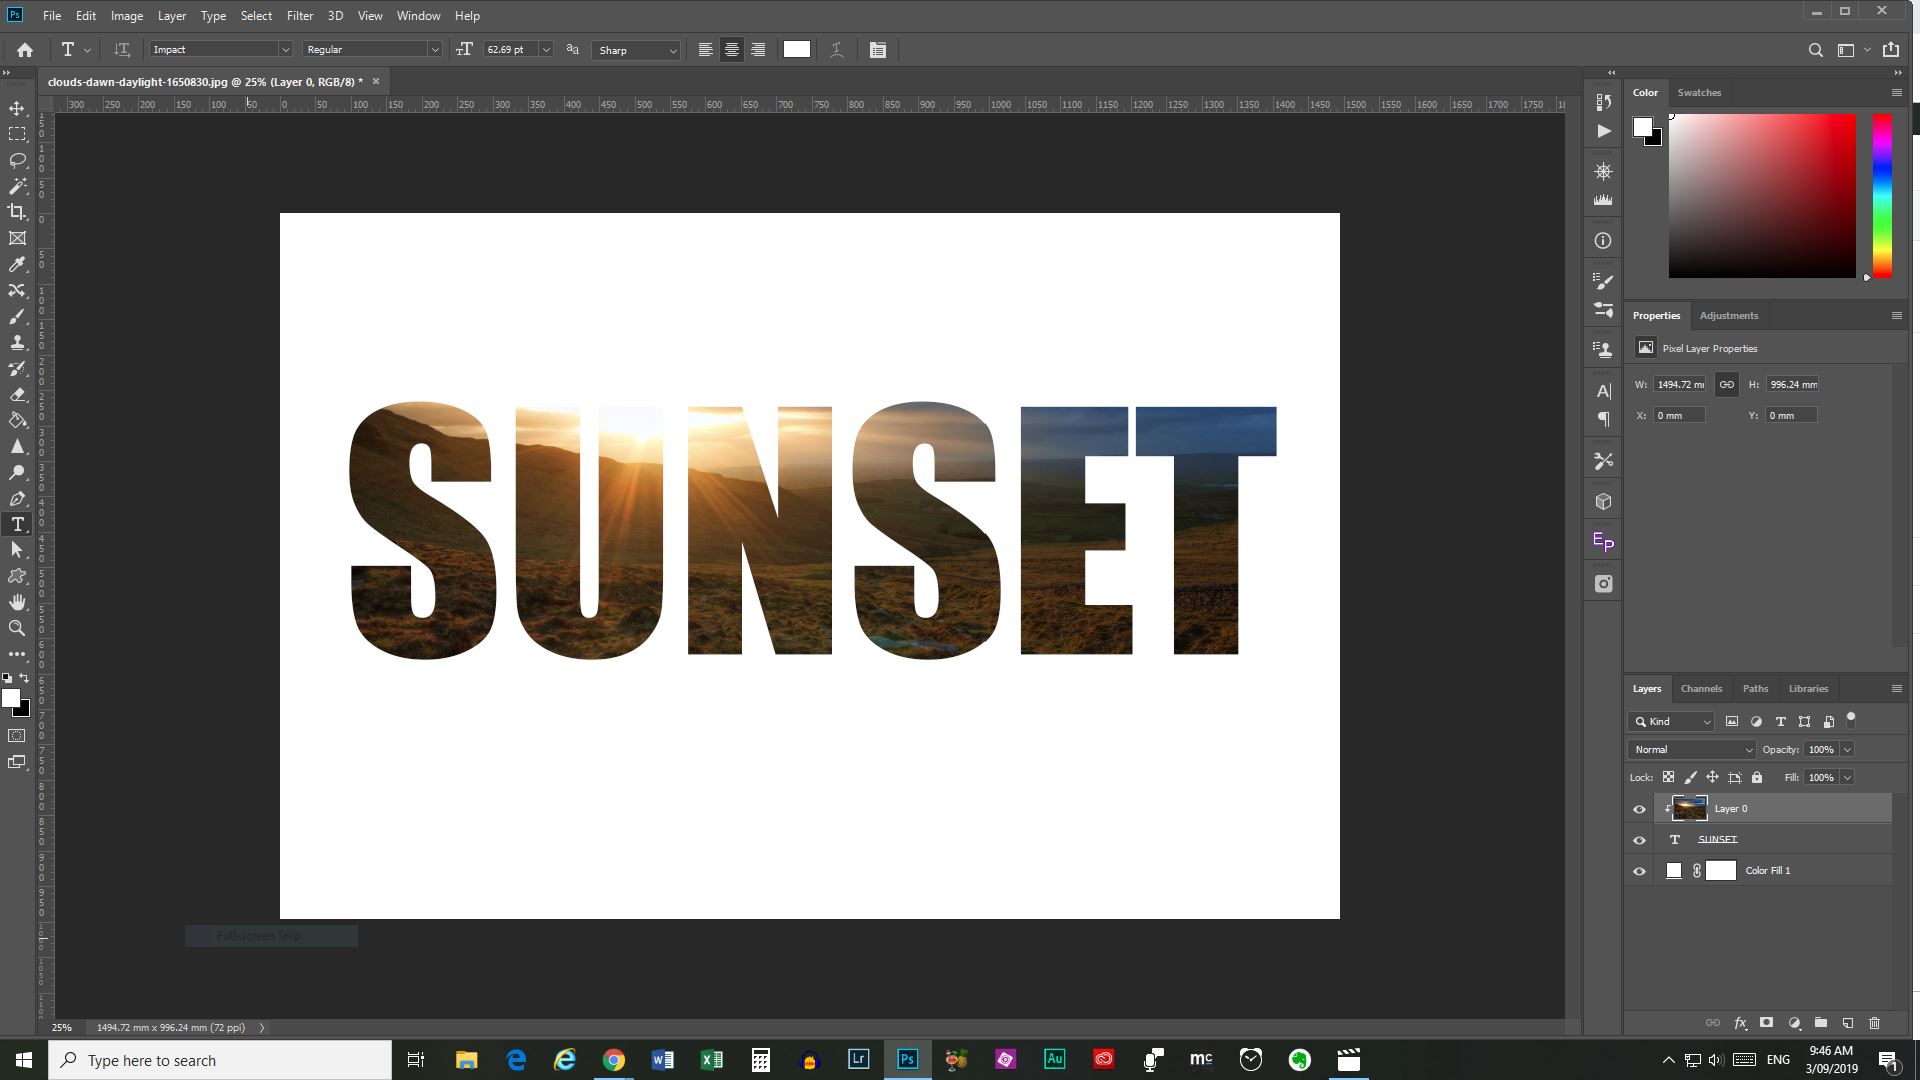
Above you can see that the sunset image now only shows where the text on the layer below is. This is a really cool effect and so easy to do.
How To Apply a Clipping Mask
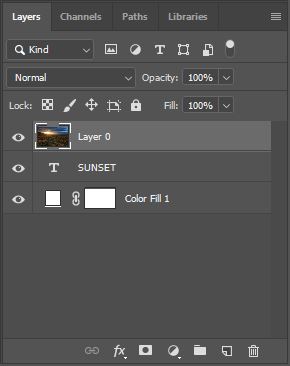
Have a look at the layers I had in the example above.
There is a white Solid Colour layer at the bottom, the ‘Sunset’ text layer above that, and the sunset photo on the top layer.
There are a few ways to create a clipping mask:
- Right-clicking on the layer in the Layers tab
- Choosing “Create Clipping Mask” from the Layers menu
- Using a Keyboard shortcut
Right Clicking on the Layer
Move your cursor to the layer your are creating the clipping mask for.
Make sure you position it to the right of the layer thumbnail, not on the thumbnail.
Right click with your mouse.
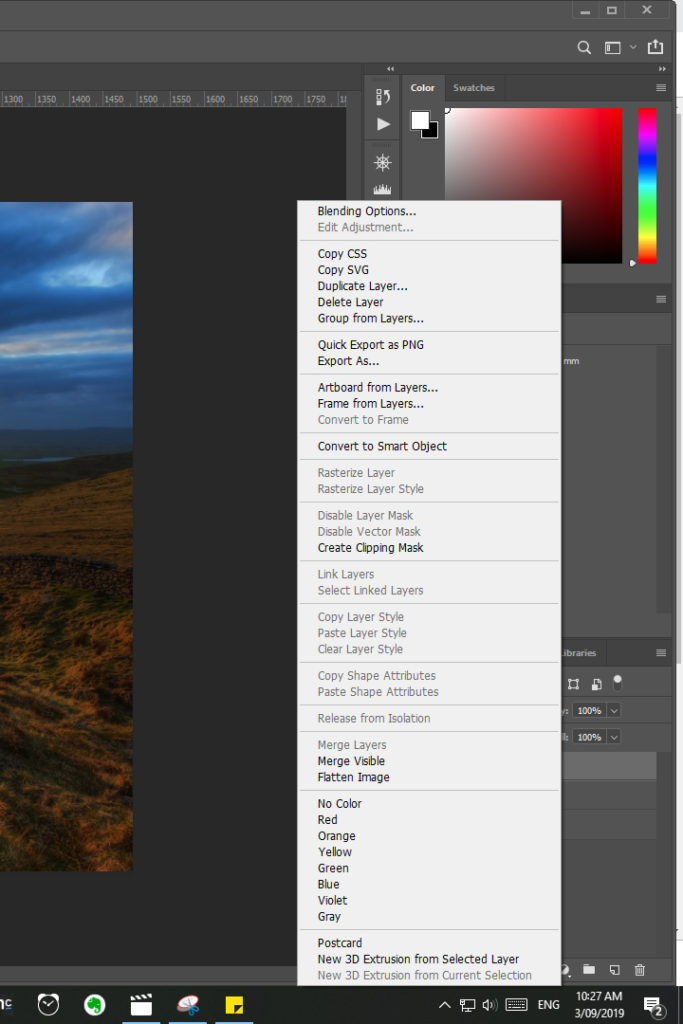
The menu you see here will pop up.
You can see about halfway down it says “Create Clipping Mask.”
Move your mouse cursor to that text and left click on your mouse to apply the clipping mask.
Choosing from the Layers Menu
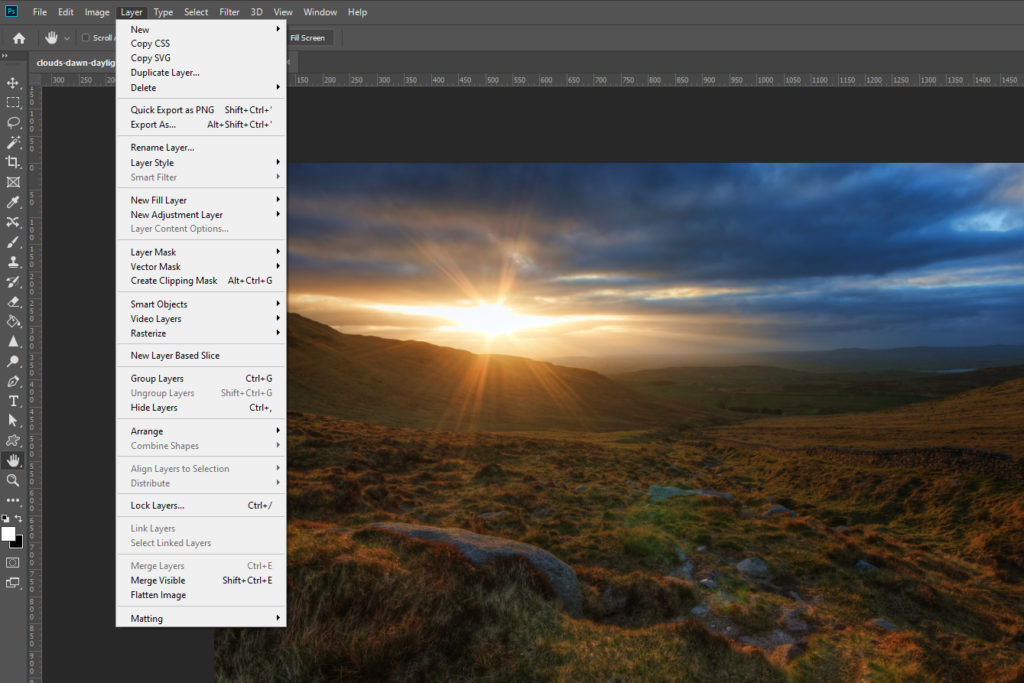
Make sure the layer you want to create a clipping mask for is active. The thumbnail will have white corners and the layer will be light grey.
Click on the Layers menu at the top left of the screen.
Just above halfway down the menu, you will see Create Clipping Mask just below Vector Mask.
Left click this to apply the clipping mask.
Using a Keyboard Shortcut
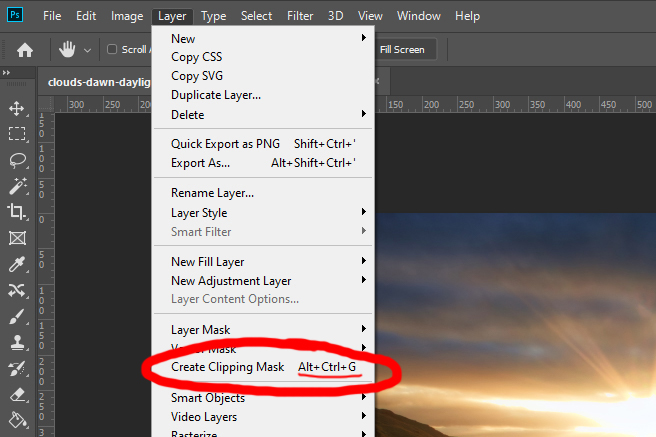
You can see in this image that next to “Create Clipping Mask” it shows the keyboard shortcut. Use this shortcut to apply the clipping mask also.
Check out this great keyboard shortcuts resource from Adobe.
Alt+Ctrl+G (Opt+Cmd+G on a Mac), is the keyboard shortcut.
You can also create a clipping mask using Actions. I show you how to install actions in my Install Actions Photoshop – Basic How To For PC blog post.
How To Undo a Clipping Mask In Photoshop
If you are not happy with the result of your clipping mask, you can simply press Ctrl+Z (Cmd+Z on a Mac), to undo.
You can also follow the steps for right-clicking on the layer or choosing from the Layers Menu and select “Release Clipping Mask.” This is a great option if you do other editing and decide later that you don’t want the clipping mask – you can release it at any time.
Let’s wrap it up
So that is a Clipping Mask in Photoshop and how to use it. If you have read this far, you must be hungry for Photoshop how-tos. Why not read my Photoshop Tools How to – The Quick Selection Tool post.
Hopefully you have learnt a lot from this post. Please comment below if you enjoyed it and be sure to make use of those Social Media sharing buttons down there to let others know about it.
Thanks for taking time to read my blog. I appreciate it.